
It was a design flaw, and lately, it's been bugging me. The five-door saga begins.
There's just no room to turn around in there, let alone do laundry or get to the pantry. I definitely fold everything on the kitchen table. And I'm totally okay with that. But I am not okay with zig-zagging through pointless doors. It was like a maze in there.
And then one night a few months back, I mentioned to my husband how much I hated one of those doors in particular, and without a word he went out the garage and came back with a screwdriver. In 5 minutes that door was gone.
My world was opened. Who knew that you could just remove all those excess doors? Hello!
So, last weekend I was maneuvering around some louvered doors that open up to our pantry and feeling pretty annoyed. We still had four doors leading into that tiny room. I glanced up and down at the mechanism that held those louvered doors in place and decided that they had to go. And I mean, right now. Both of them.
My awesome husband agreed that they were kind of awful and had them down in no time. Yay!
And I was left with this:
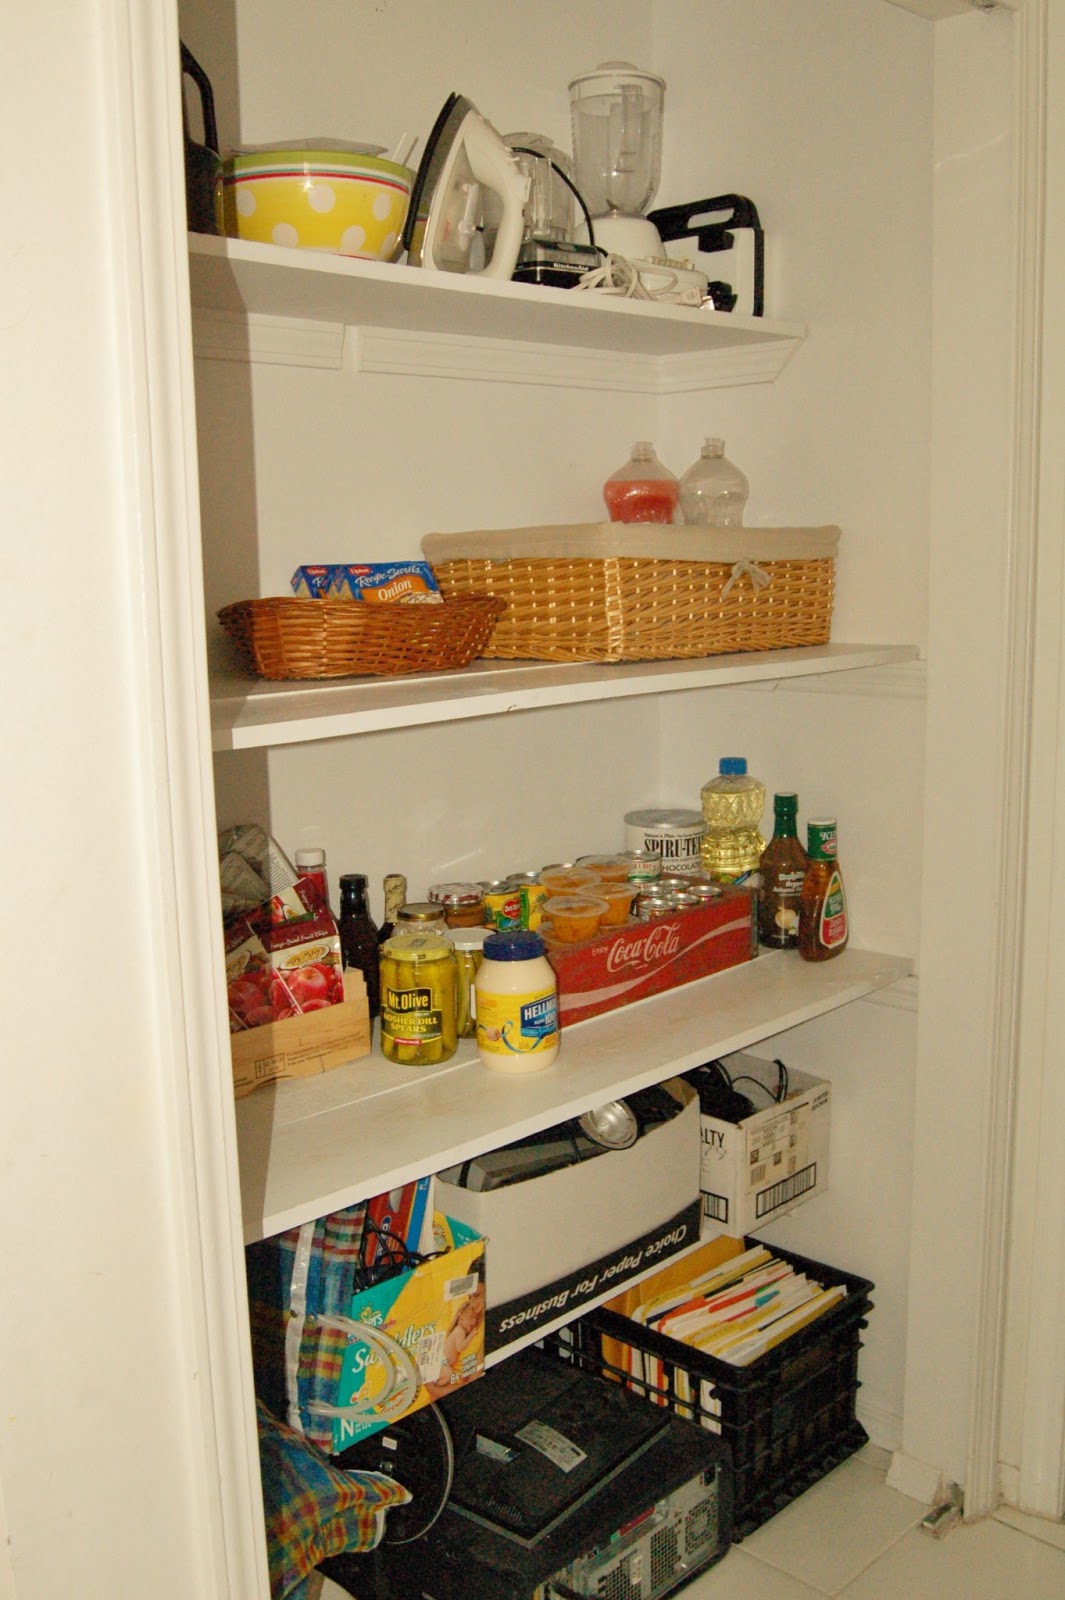
Yikes. not attractive.
I decided that we just needed to hide the junk at the bottom and then we'd be golden.
I went through my fabric scraps box and found a few pieces that I liked. None of them were large enough to cover the entire bottom portion of the pantry though, so I had to piece a few together.
I loved this green striped fabric, so that became the largest piece, right in the middle. Then, in order to make the whole curtain large enough, I decided to frame it out with plain utility fabric. I cut the utility fabric wide enough to add 6 inches to every side. You can see in the picture that since I was working with scraps, I had to piece together even the sides in order to get pieces that were long enough.

After I had all the pieces cut, I just sewed it all together...

...making sure I pressed each seam flat before sewing on the next piece.
I was going to hem all the sides at the end, but I was ready to throw my machine across the room by then. It had given me a lot of problems. (I think I need to have it serviced, maybe? It's several years old and isn't working as smoothly as it once did. I don't know. I'm completely self-taught, so I don't know how to troubleshoot as much as I should.) So I just hung the curtain up, all unfinished. Maybe I'll finish it at a later date...maybe I won't.

Ah, so much better. It's amazing what a little curtain can hide.

Ah, so much better. It's amazing what a little curtain can hide.
From this:

Would you want to look at a training potty every time you go to open a new jar of mayonnaise? No?
Me neither.


One of the best things about this project as far as I'm concerned is how little time it actually took. I'm all over those projects that can be completed during one nap time.
Seriously, if you weren't piecing together fabric, the only step is clipping unfinished fabric to the curtain clips (I purchased the clips you see here and the curtain rod from Target). Of course, the more time you put into it, the more polished it'll look in the end, but as a quick fix? You can't beat it.
* * *
If you enjoyed this post, please consider subscribing by email to receive updates on new posts!
You can also follow my blog through Instagram, Pinterest, Facebook, Bloglovin, or Google+.
For a list of all the parties that I link up to each week, please visit my Linking Up page!
No comments:
Post a Comment
I truly love and appreciate reading your comments!