When I was in first grade, I got in trouble with the law. And by the law I mean my teacher, and by trouble I mean a note was sent home. This was a big deal to me. Not only did I consider my relationship with my teacher to be pretty darn special since we shared the same birthday and everything, but I never got in trouble. And I do mean never.
This particular trouble was over one of those paper fortune tellers. You might remember these things from your own grade-school days. The basic idea is that you fold your square sheet of paper into quarters, fold in the corners, flip it over, fold in the corners again, and - suddenly - you've got yourself a cool little game. Until you start adding in some elementary insults, such as "You have a bird brain." Then there's trouble.
All that to say this: if you've ever folded one of those fortune tellers (whether or not yours contained the sort of insults that mine did), then you're well on your way to understanding how to make one of these beautiful little paper stars (I first saw these stars over here). Seriously, guys, they're so easy.
Time consuming, yes. But definitely easy.
Materials:
14 square sheets of paper, all the same size (mine were 4" x 4")
glue (I used Elmer's, but any kind of paper glue would work)
paper towel
Process:
Pull out one sheet of paper:
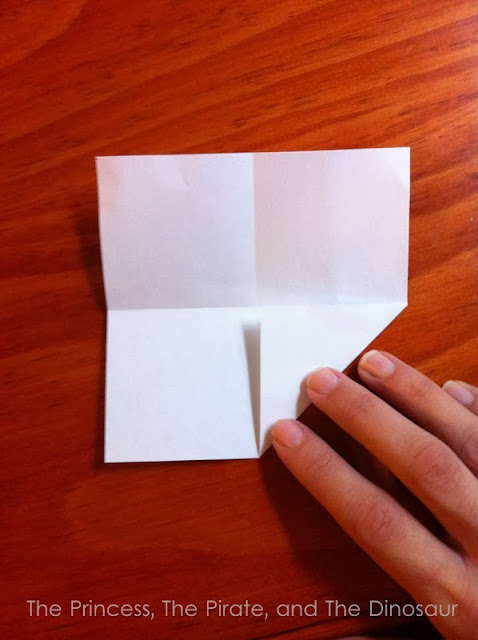
Fold it in half vertically, open it, fold it horizontally, and then open it again.
Fold in each corner.
Then fold two opposite corners in a second time. Your paper will end up looking like a kite.
Flip the "kite" over.
Fold down the top part of the "kite".
Finally, fold the paper in half, making sure that the smaller triangle is on the outside:
There! If you've made it this far, you're well on your way. This is one of the beams of the star. Fold the rest of your papers the same way until you end up with 14 altogether (like I said, time consuming).
Now it's time to start piecing the beams together. Notice that each beam has two flaps. You're going to insert those flaps into two holes in the back of another beam.
Here's the same process from another angle:
Keep joining the beams together this way,
Until you get the full circle:
Do not add glue during this time. You're going to need to do some adjusting as you go, and if you start gluing right away, you won't be able to make those adjustments.
After your star looks more or less the way that you like it, gently pull out one of the beams and add a spot of glue on the front and back of each flap.
Then fit it back into place. With a finger, wipe up any glue that oozes out of the side and dry on your paper towel. Continue in this way until the entire star is glued up, making adjustments as necessary. Let dry.
That's it! Now, go make several of them. It gets kind of addicting.
I made one as a Christmas ornament:
And a few to keep up all year, just cause they're awesome.
Have fun!
* * *
If you enjoyed this post, please consider subscribing by email to receive updates on new posts!
You can also follow my blog through Instagram, Pinterest, Facebook, Bloglovin, or Google+.


No comments:
Post a Comment
I truly love and appreciate reading your comments!